This is the exact same recipe as the Moroccan Chickpea Stew, except the spice mix is changed. I think I like this one better, and my kids definitely feel the same way, but both are great!
~~~~~
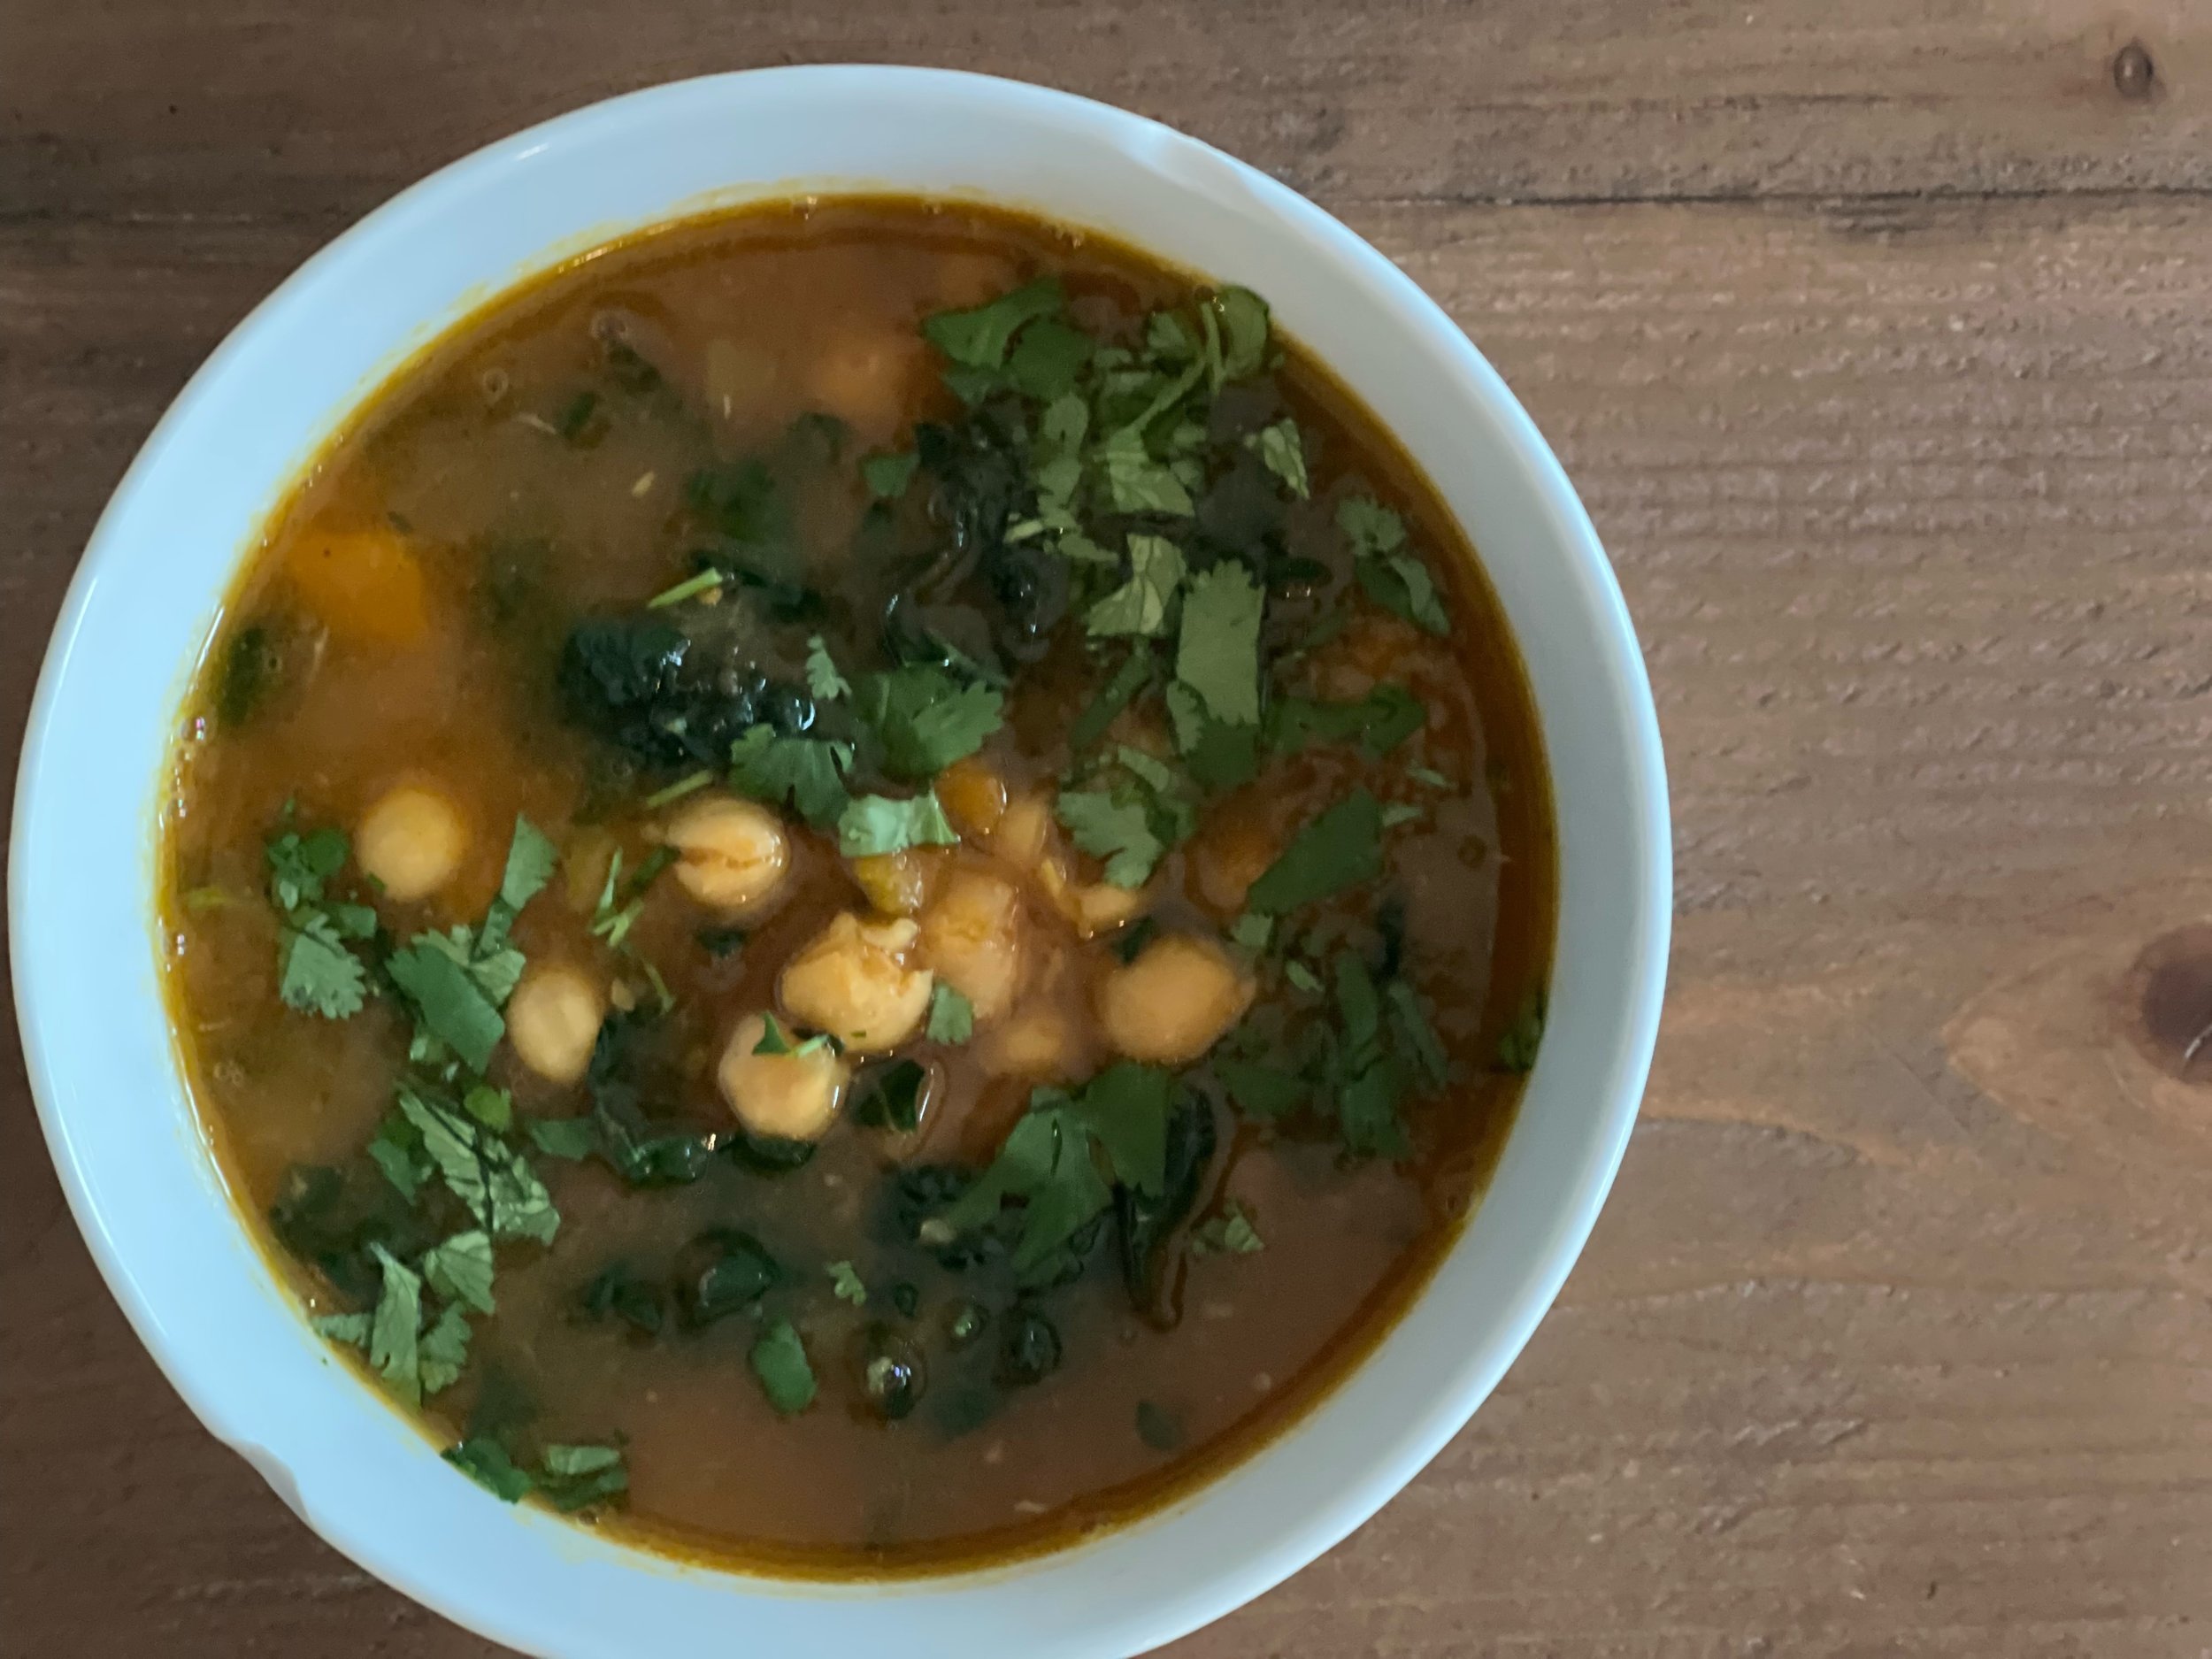
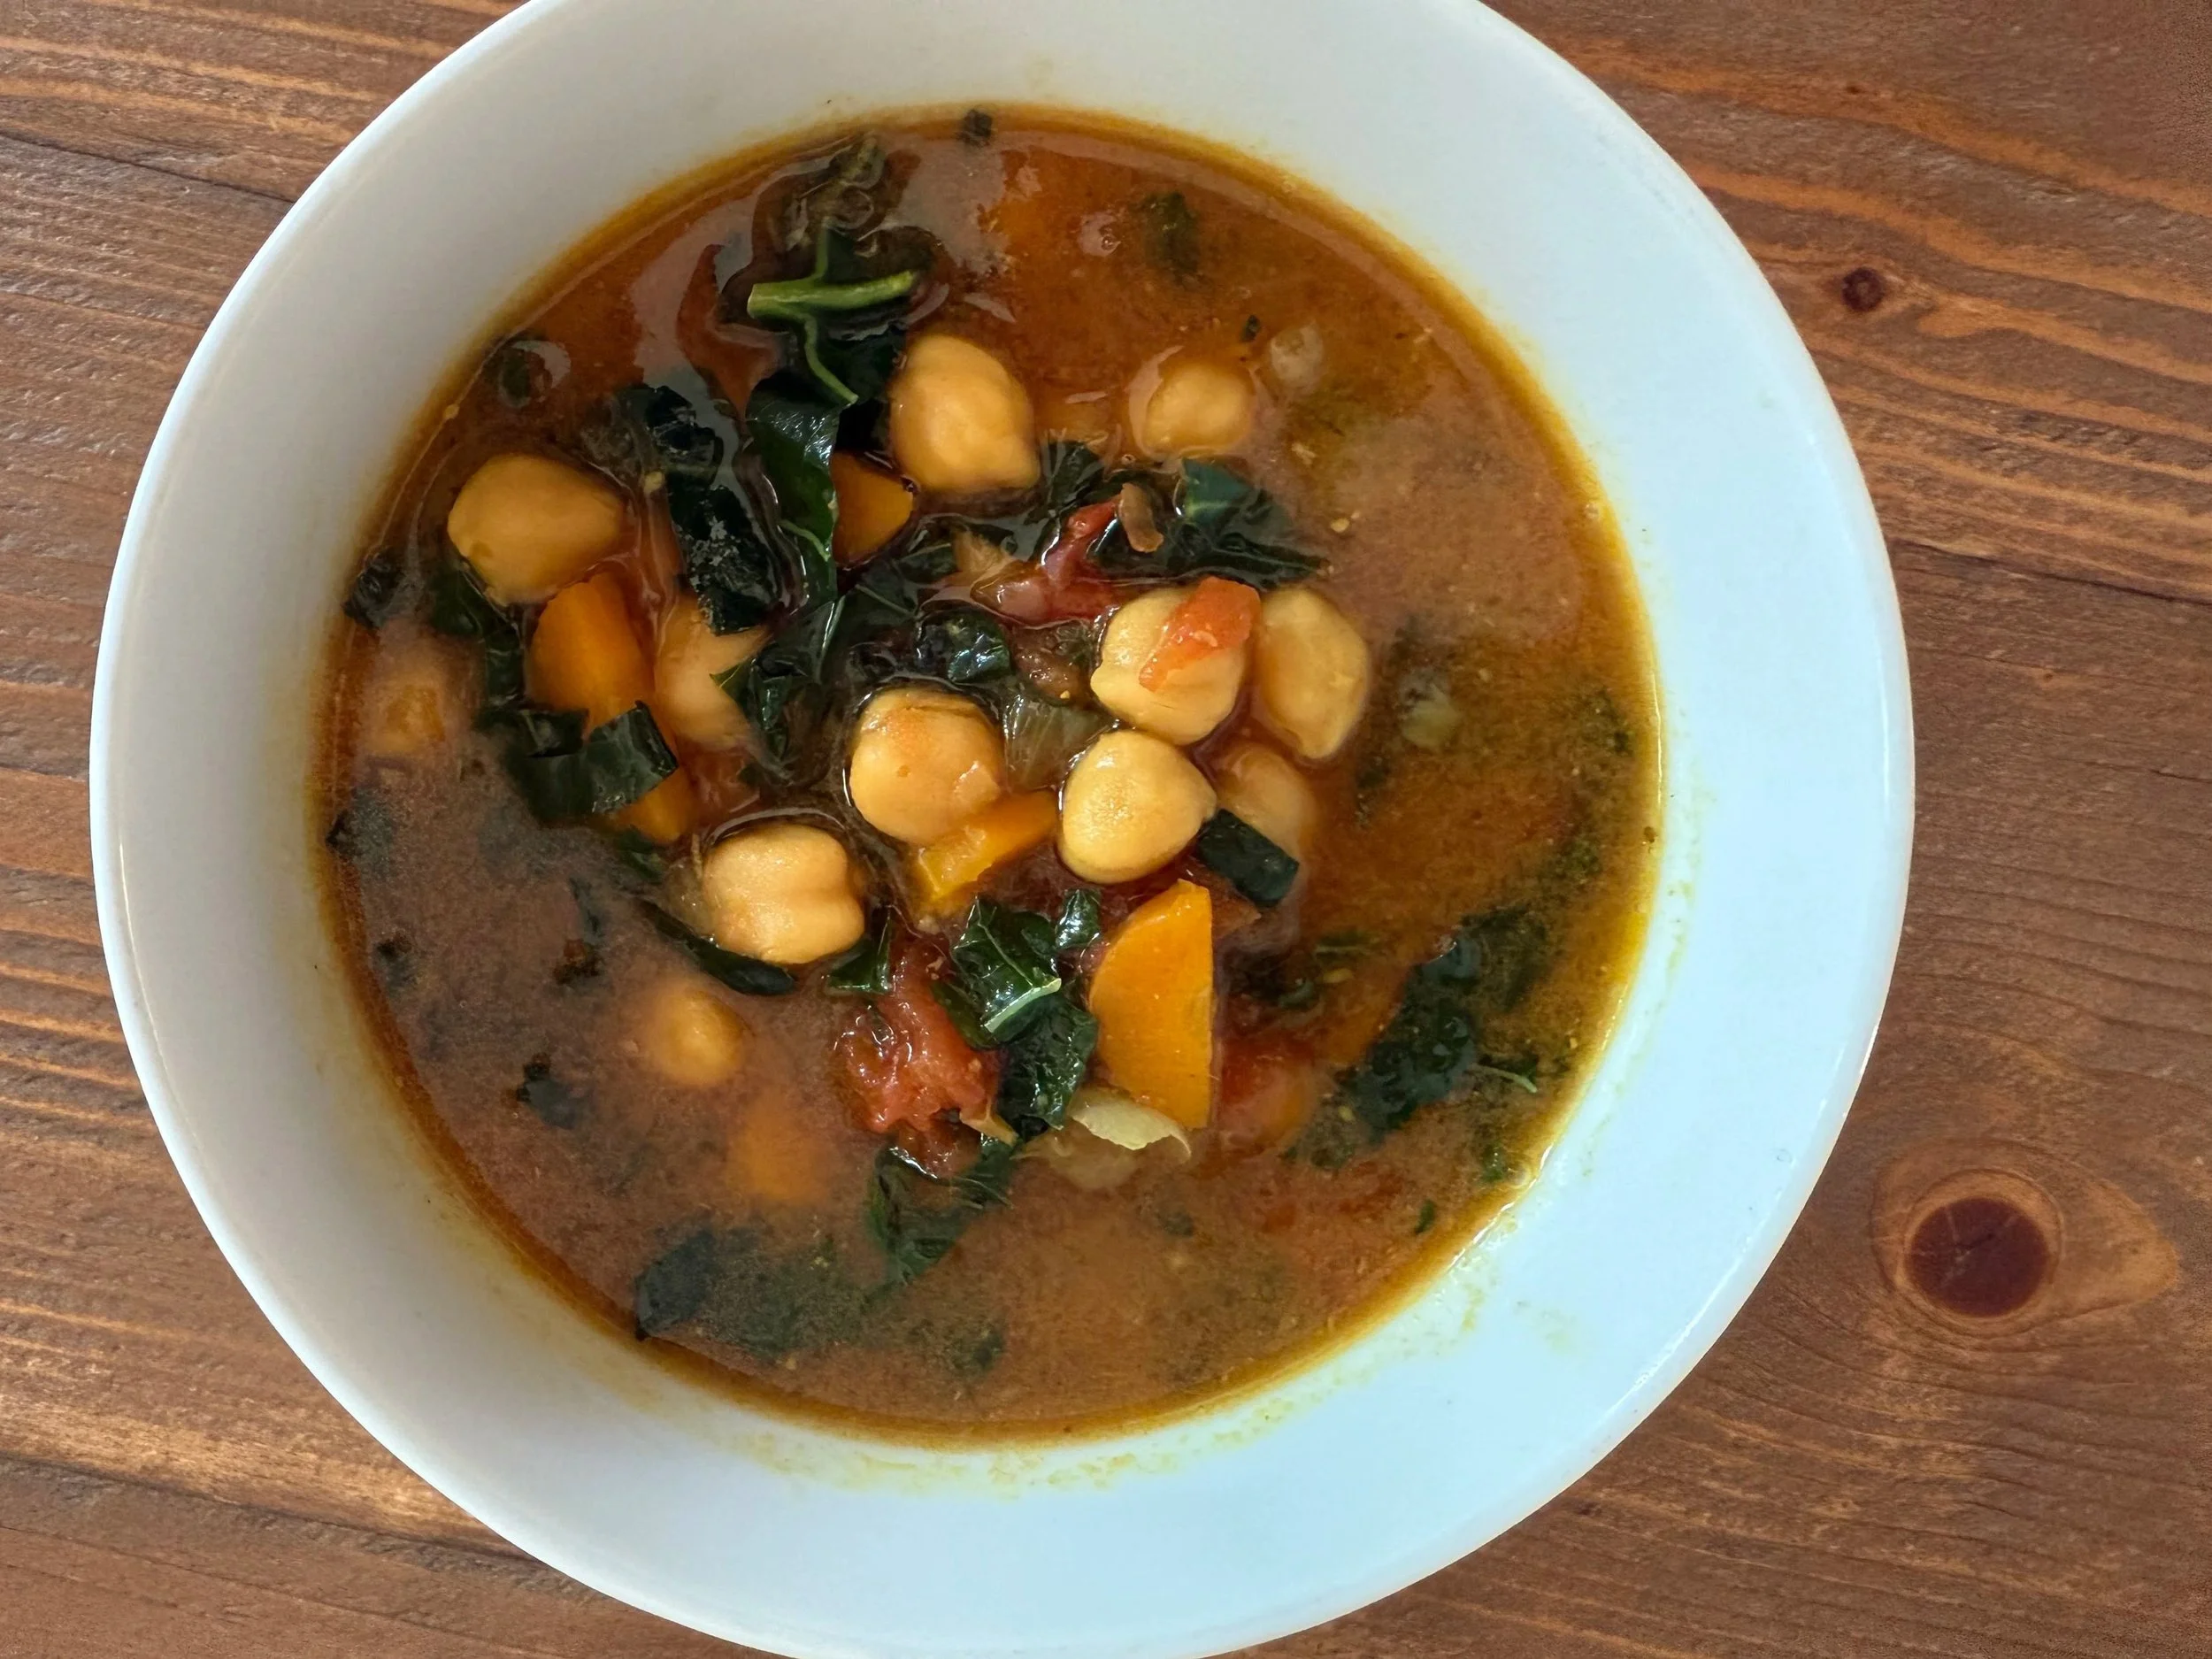
Moroccan Chickpea Stew
Adapted from Moroccan Chickpeas + Kale in Melissa Clark’s Dinner in an Instant (pg 103).
Notes: I make this stew in my Instant Pot and wrote the recipe that way, but you could easily sauté all the vegetables in a large stock pot and cook the chickpeas over the stove. If you’re cooking over the stove, add enough water to cover the chickpeas and keep an eye on them, adding a bit more water if necessary. Stove-top chickpeas (if soaked) will cook in 60-90 minutes. Chickpeas that are NOT soaked will pressure cook for 50 minutes and stove-top cook for approximately 90-120 minutes. Soaking improves digestion and saves energy. I recommend it!
Special equipment:
Instant Pot or other pressure cooker
1 lb dried chickpeas
Filtered water to cover by 2-3 inches
Good glug of olive oil
1 large yellow onion, chopped
4-5 large cloves of garlic, finely chopped
2 large or 3 medium carrots, diced
Between 1/2 and 1 tablespoon freshly grated ginger
1 tablespoon sea salt
1 1/2 tablespoons curry powder
1 teaspoon ground coriander
1 teaspoon ground cumin
Good grinding of black pepper
14.5 oz can diced tomatoes (the whole can / do not drain)
5 1/2 cups filtered water
1 bunch kale, de-stemmed and chopped (I use Lacinato here)
Cilantro or parsley, to serve (optional)
About 24 hours before you plan to make your stew, put your chickpeas in a pot and cover with filtered water by about 3 inches. The chickpeas will expand quite a bit; you can add more water if they’re dry at the top.
When you’re ready to start cooking, drain the chickpeas and rinse well.
Turn on the sauté function on the pressure cooker and add a glug of olive oil. As it starts to heat up, add the onion and sauté for 5-7 minutes, stirring frequently. Next add the garlic, stirring, until fragrant. Add in the carrot and ginger and stir this until fragrant as well. If things are looking a little dry, add another glug of olive oil. Next, add the sea salt, spices, and black pepper and stir. Pour in the entire can of diced tomatoes and stir again.
Add in the drained chickpeas and 5 1/2 cups of filtered water. Secure the lid onto the pressure cooker, turn the knob on top to the “sealing” position, and set it to cook on high pressure for 15 minutes; letting the pressure release naturally. (If the chickpeas aren’t quite done at this point, you can pressure cook for another 5 minutes or so, releasing the pressure manually afterwards.)
When the chickpeas are cooked, stir in the chopped kale. I find that the heat is enough to soften the kale without any additional cooking.
Carefully taste for salt level and add more as desired. You can serve this as is or garnished with chopped cilantro or parsley.
Serves 4-6