Moroccan Chickpea Stew

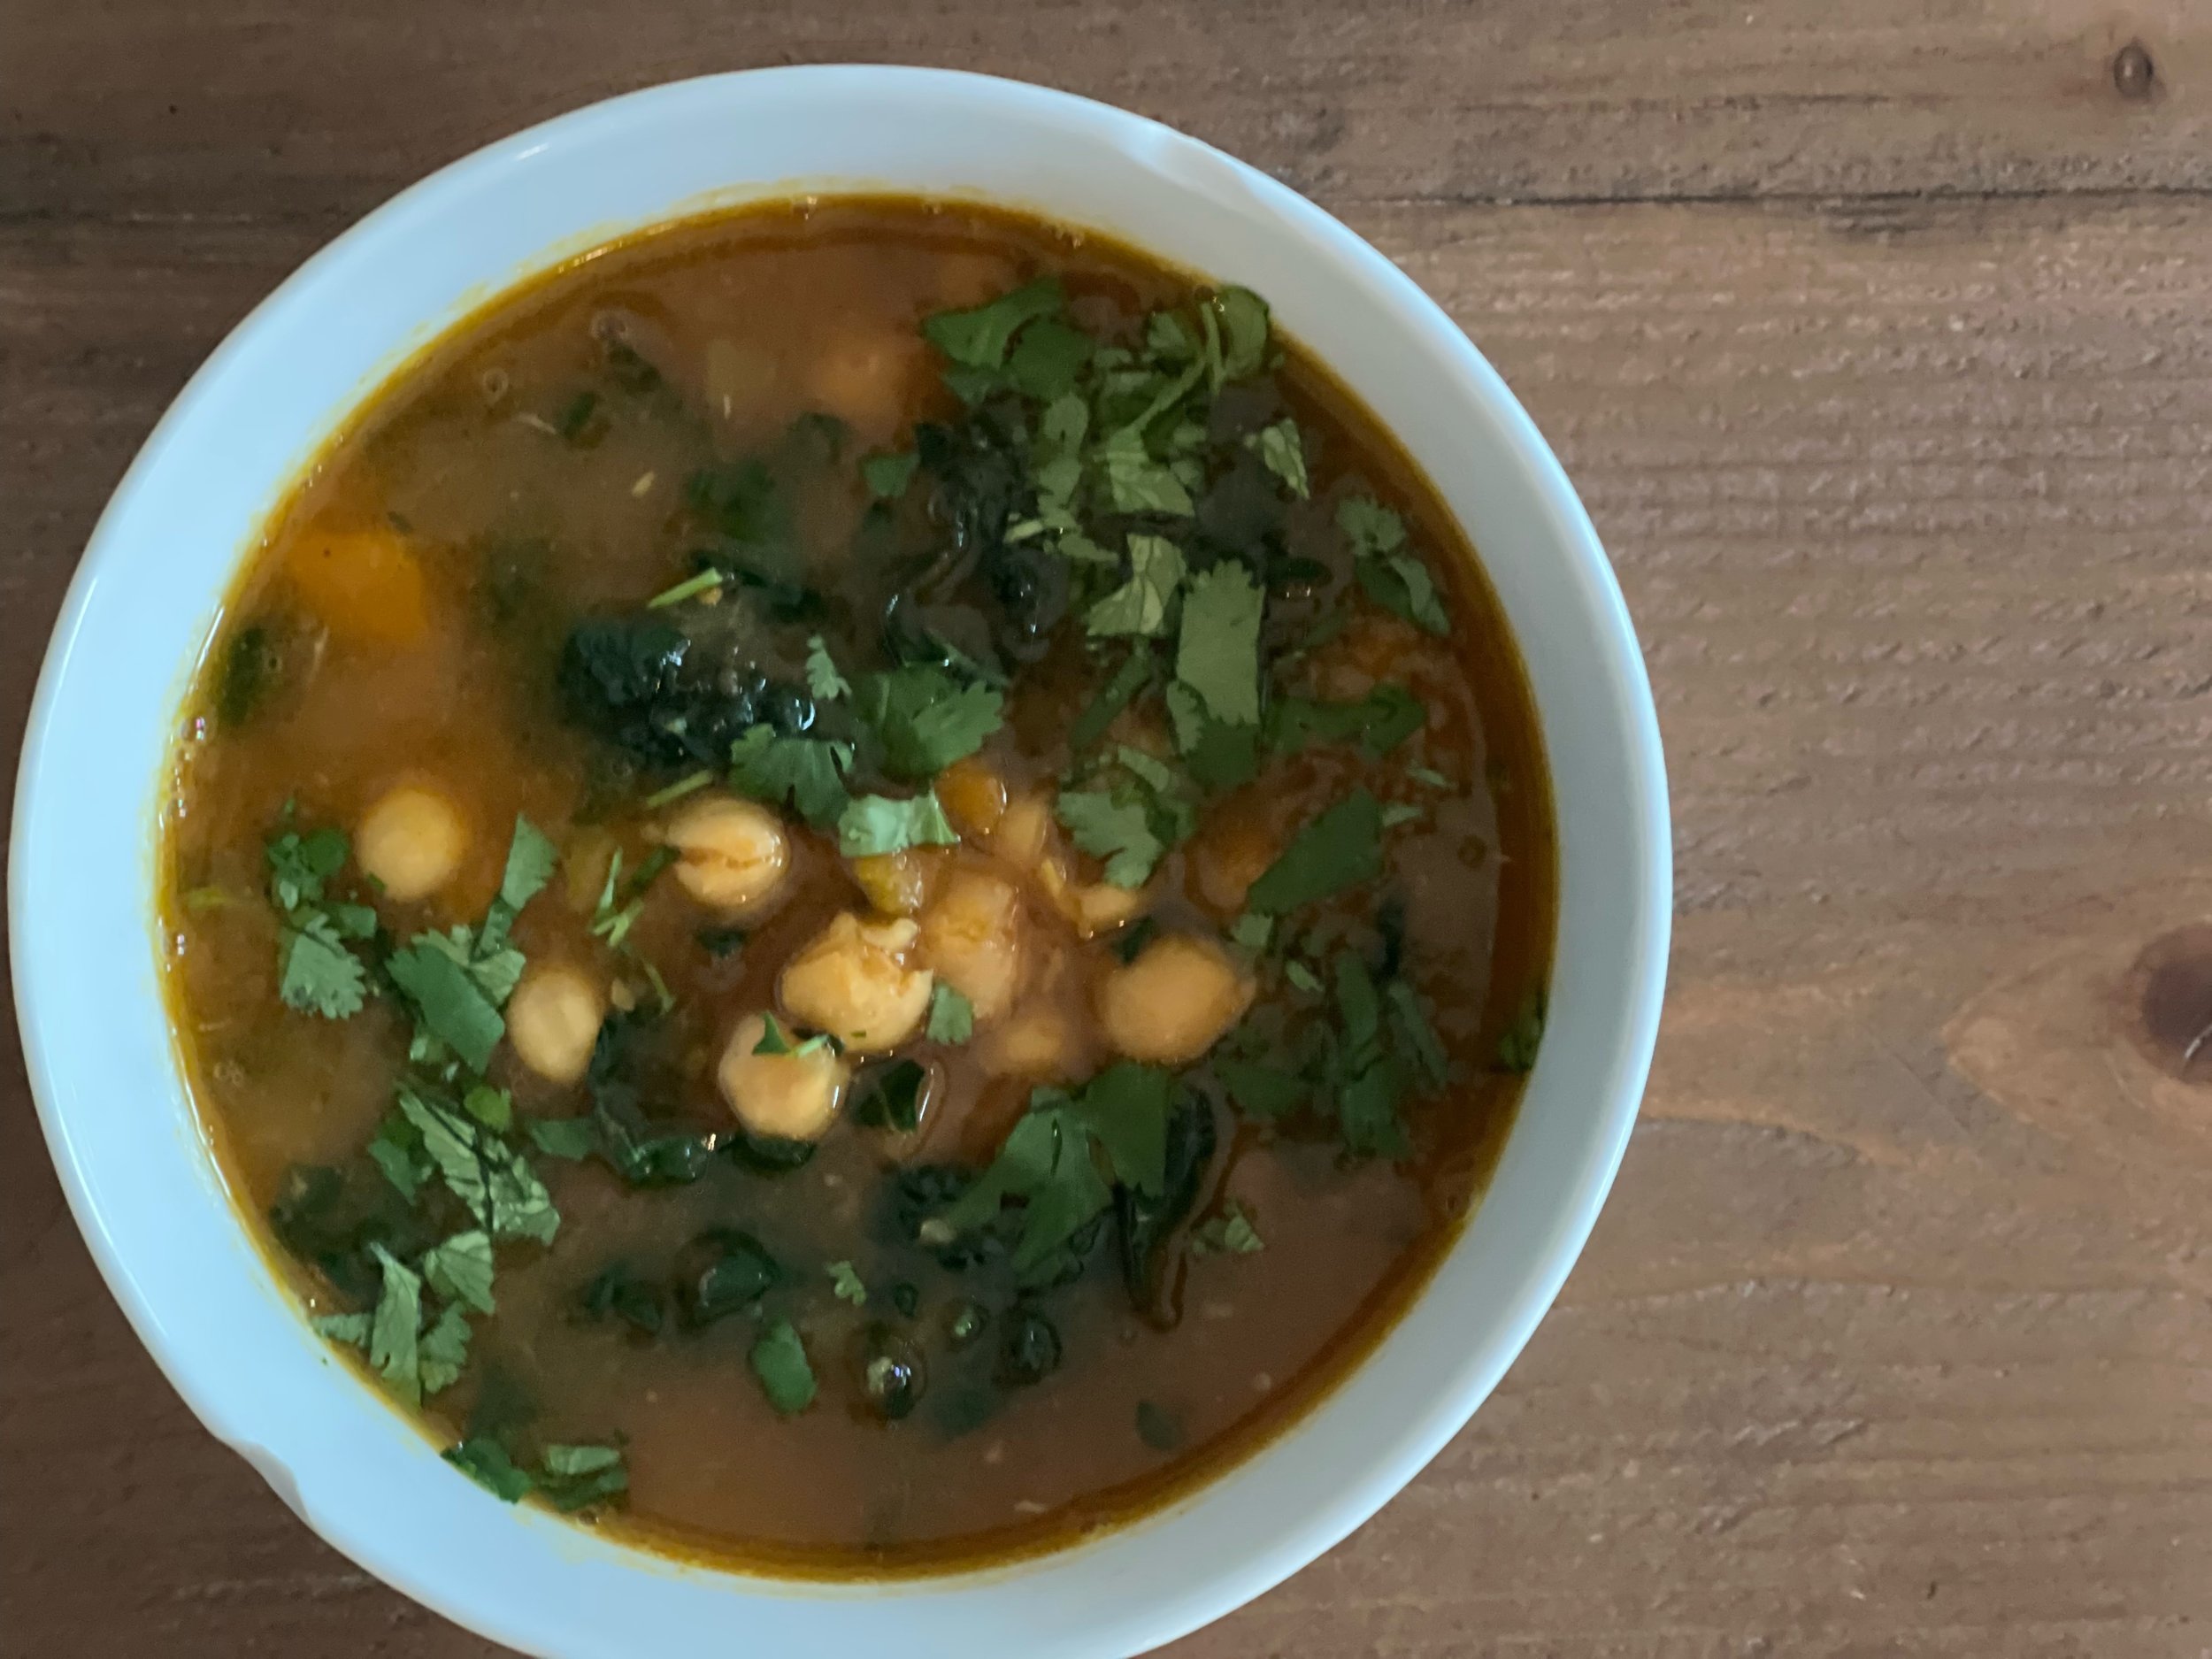
If you’re looking for a nutritious, deeply flavorful stew that can be easily made in your Instant Pot (or other pressure cooker), this is one of the best I’ve made in a while. Adapted from a Melissa Clark recipe with a similar title, I put in a hefty amount of anti-inflammatory turmeric, flavor-forward garam masala and a whole can of diced tomatoes which are rich in the antioxidant lycopene. This stew is extremely flavorful and warming. Chickpeas and kale add a good amount of fiber too.

I hope you enjoy this as much as I do. It’s good the second day, as is the case with most soups and stews, and can be thinned with a little extra water as needed.

~~~~~

Moroccan Chickpea Stew
Adapted from Moroccan Chickpeas + Kale in Melissa Clark’s Dinner in an Instant (pg 103).

Notes: I make this stew in my Instant Pot and wrote the recipe that way, but you could easily sauté all the vegetables in a large stock pot and cook the chickpeas over the stove. If you’re cooking over the stove, add enough water to cover the chickpeas and keep an eye on them, adding a bit more water if necessary. Stove-top chickpeas (if soaked) will cook in 60-90 minutes. Chickpeas that are NOT soaked will pressure cook for 50 minutes and stove-top cook for approximately 90-120 minutes. Soaking improves digestion and saves energy. I recommend it!

Special equipment:
Instant Pot or other pressure cooker

1 lb dried chickpeas
Filtered water to cover by 2-3 inches

3-5 tablespoons olive oil
1 large yellow onion, chopped
4-5 large cloves of garlic, finely chopped
2 large carrots, diced
1 tablespoon freshly grated ginger
2 1/2 teaspoons sea salt
1 tablespoon ground turmeric
1 teaspoon (sweet / regular) paprika
1 1/2 teaspoons garam masala
1/2 teaspoon ground cumin
Good grinding of black pepper
14.5 oz can diced tomatoes (the whole can / do not drain)
5 1/2 cups filtered water
1 bunch kale, de-stemmed and chopped (I use Lacinato here)
Cilantro or parsley, to serve (optional)

About 24 hours before you plan to make your stew, put your chickpeas in a pot and cover with filtered water by about 3 inches. The chickpeas will expand quite a bit; you can add more water if they’re dry at the top.

When you’re ready to start cooking, drain the chickpeas and rinse well.

Turn on the sauté function on the pressure cooker and add a glug of olive oil. As it starts to heat up, add the onion and sauté for 5-7 minutes, stirring frequently. Next add the garlic, stirring, until fragrant. Add in the carrot and ginger and stir this until fragrant as well. If things are looking a little dry, add another glug of olive oil. Next, add the sea salt, turmeric, paprika, garam masala, cumin and black pepper and stir well. When all the spices have been incorporated, pour in the entire can of diced tomatoes and stir again.

Add in the drained chickpeas and 5 1/2 cups of filtered water. Secure the lid onto the pressure cooker, turn the knob on top to the “sealing” position, and set it to cook on high pressure for 15 minutes; let the pressure release naturally when finished. (If the chickpeas aren’t quite done at this point, you can pressure cook for another 5 minutes or so, releasing the pressure manually afterwards.)

When the chickpeas are cooked, stir in the chopped kale. I find that the heat is enough to soften the kale without any additional cooking.

Carefully taste for salt level and add more as desired. You can serve this as is or garnished with chopped cilantro or parsley.

Serves 4-6
Print Friendly and PDF

Kale, Cabbage, Carrot & Cilantro Salad

This is my favorite salad and, in my opinion, it’s the salad to beat. It’s a delicious, nutrient powerhouse of a salad. You’re getting loads of fiber and nutrients in each bite. Kale offers a large multitude of vitamins, minerals and phytonutrients and is particularly high in vitamins K, A and C. Cabbage is high in vitamins C and K as well as folate, and is fantastic for your gut health. And with both cabbage and kale you get the impressive benefits of the cruciferous family including heart disease and cancer prevention. Carrots are high in vitamin A in the form of beta carotene which is great for your vision and immune system. And cilantro is very effective in lowering blood sugar. Eaten consistently, this salad can give your health a big boost.

There are two main tricks to making this salad great. (1) Use good kale. Overly mature kale will ruin any raw preparation. If you have overly mature kale on your hands, I highly recommend using it up (and cooking it down) in a recipe such as this Spanish Kale. And (2) SLICE THIN. This is important if you’re trying to win people over to eating more kale and cabbage salads. Thinly sliced vegetables, dressed with a good vinaigrette, make for a very enjoyable eating experience. If you slice the kale, cabbage and carrots very thinly (the cilantro can be roughly chopped), you’re golden! I promise :) I usually toss this salad with this mustard vinaigrette, but you could use a wide variety of dressings here. You can also dress it with lemon, olive oil, salt and pepper.

This salad is delicious served with all kinds of things. It goes very well with steak or roast chicken if you’re cooking meat, and it’s also great on top of some warmed quinoa, or as part of a grain / legume bowl.

I hope you like it as much as we do!

~~~~~

Kale, Cabbage, Carrot & Cilantro Salad

Note: I make about this much for a side salad for 4 or a main course salad for 2. Kale leaves can vary a lot in size so use this as a rough guide. After you make if a few times, you’ll learn the proportions you like of each vegetable and you’ll never look at the recipe again :)

3-6 Lacinato kale leaves,, destemmed and sliced thinly crosswise, then cut down the middle once lengthwise
About an equal volume of green cabbage, shredded
1 carrot, halved lengthwise and sliced thin
About 1/2 cup chopped fresh cilantro
Vinaigrette of your choice
Roasted pepitas or sunflower seeds to serve on top (optional)

Assemble the kale, cabbage, carrot and cilantro in a salad bowl, add your favorite vinaigrette, and toss gently. Serve with seeds sprinkled on top, if desired.

Serves 2 as a main meal, 4 as a side

Print Friendly and PDF

Curried Vegan Broccoli Fritters

IMG_8640.JPG

Not long ago I tried a recipe for a chickpea frittata that inspired me to use the concept for a vegan fritter full of finely chopped broccoli and quinoa. The vast majority of fritters use eggs and some sort of cheese and it isn’t always easy to find a vegan version. This one is packed with anti-inflammatory and anti-cancer compounds from the curry powder and broccoli.

Broccoli is part of the incredibly special cruciferous (brassica) vegetable family, which also includes cabbage, cauliflower, Brussels sprouts, and my favorite kale, among others. What makes this family of veggies so special, and so deserving of your attention, is that they are packed with nutrients and phytochemicals - most notably sulforaphane - that protect your DNA from damage (many researchers say that these veggies can even repair DNA damage) and thus they protect against numerous forms of cancer (including breast, prostate and lung cancer, among others). Cruciferous vegetables also tend to be very nutrient dense and high in fiber.

These fritters cook really well when they are prepped ahead of time. Much like when making socca (chickpea flatbread), the garbanzo bean flour and water mixture becomes more cohesive as it sits for longer. Beyond that, there is another big reason to prep these in advance: in order for sulforaphane (the important anti-carcinogenic compound) to form, it needs an enzyme called myrosinase. BUT, myrosinase is destroyed with cooking so you need to eat cruciferous vegetables in their raw form to get the benefit, with a couple exceptions. One exception is that if you chop up the broccoli first and then wait some amount of time (the article I reference below says 40 minutes), then the enzyme does its job to form the sulforaphane and because sulforaphane itself isn’t heat-sensitive, once it is formed you can cook your broccoli all you want.

For those of you who really get into this stuff, you will probably enjoy this article that goes into more detail.

But, in summary, to get the maximum health benefits from this recipe, prep the mixture in advance and let it rest in your fridge until you’re ready to cook later.

I love these fritters with this parsley pesto on the side; the earthy curry and the bright pesto go really nicely together. They are also nice with some avocado on top.

If you make them, or adapt them in some way, please let me know!!

~~~~~

Curried Vegan Broccoli Fritters
Inspired by the Chickpea Omelette recipe (pg 34) from Happy Food by Bettina Campolucci Bordi

Notes: I almost always have cooked, unsalted quinoa in my fridge. If what you have on hand is salted quinoa, then reduce the salt in this recipe to 1/2 teaspoon or so.

1/2 cup garbanzo bean flour
1/2 cup filtered water
3/4 teaspoon sea salt
1/2 teaspoon baking soda
1 tablespoon apple cider vinegar
1 cup cooked quinoa (unsalted)
1 1/2 cups broccoli, chopped small
1 large garlic clove, finely chopped
4 teaspoons curry powder
Olive oil for cooking

Combine the garbanzo bean flour, water, sea salt, baking soda and apple cider vinegar together and whisk well to combine. It will fizz a little bit due to the combination of the baking soda and vinegar. Let this sit for about 10 minutes while you prep the rest of your ingredients.

Add the quinoa, broccoli, garlic and curry powder to the garbanzo bean mix and stir well. At this point you can cook the fritters now or, as I usually do, throw the mix into the fridge until you’re ready to use it (see text above for why I do this).

When you’re ready to cook, put a large nonstick skillet over medium/low heat and add some olive oil. I use my 12-inch cast iron skillet for this. Use a spoon to form four fritters on the pan. Cook for 15-20 minutes on the first side. I sometimes gently move the fritters around after about 10-12 minutes for even browning, but please note that you need to let them sit on the pan for at least that long else they won’t hold together. After they are browned on the bottom, flip and cook for about 10 minutes on the second side. You will have to flip gently because these don’t have eggs.

Serve with pesto, avocado or plain and enjoy!

Serves 4

Print Friendly and PDF